I had the opportunity to run a playtest of Gronklefizz: A Game for Rogue Wizards, by Jackalope Nesbitt, last night. My setup for the game was specifically chosen to create shifting alliances, with three players.
Note: This was a playtest session for a game that has not finished development yet. I will be avoiding any rubs we encountered with the rules and will instead stick to a strict recap of the session.
This game is WILD and was a lot of fun! Action-packed, we dove from one scene to another in quick succession, telling a tale of wizards with vast magical, and often silly, power, as they try to locate the wizard Gronklefizz, who has locked all of the other wizards from their towers. The Association of Wizards selected these three, my players, to locate Gronklefizz and deal with her.
My party consisted of Wizards three: Bob, Steven, and Yamaguchi. There was an instant rivalry between Bob and Yamaguchi as they both had the grandiose title of Slayer of Seagulls; clearly, one of them was lying and this would culminate in a showdown.
To fully embrace the chaotic nature of this game I only used the Fate Chart and Event tables from Mythic’s Game Master Emulator. Watching the Chaos Rank wax and wane from scene to scene with party successes and setbacks is always fun time. (There are two editions of the GME, but I am partial to the original) The GME provided me with the prompts that I interpreted for each obstacle as well as for us as group to brainstorm Clue locations.
In my mind this game would work really well as a combination scavenger hunt meets Treasure of Sierra Madre style story arc so I set up a simple play loop where, in order to locate Gronklefizz, a Wizard must be in possession of three Objects. You gain an Object by defeating the Object’s Guardian, which can only be located after you have overcome a series of Obstacles. Each Obstacle provides a single Clue, and when 4 Clues are assembled, they reveal the location of the next Object.
So the gameplay loop was [set scene based on clue prompt] > [overcome Obstacle] > [gather Clue for next scene prompt] > [overcome guardian] > [gain Object]
My players did a fantastic job rolling with the punches, helping to flesh out prompts and ease over speed bumps in the rules.
SCENE 01 – MOUNTAIN RANGE – CHAOS RANK 5 – Standing amid the swirling winds and mounting snow, the three wizards locate a ramshackle door frame on a mountainside. Beside the door frame is a snowman with a wooden sign that reads, To Gronklefizz’s Hideout, but the wizards are not falling for this obvious trap. Looking through the doorway, they see that it is a portal leading to a dense forest. A small table with a rolled-up sheaf of paper bound with a ribbon sits outside of reach. Not knowing if there is a way back once one is through the portal, Bob summons the power of Wind and blows the papers through the doorway, easily obtaining the first clue: Iron.
SCENE 02 – IRON MINES – CHAOS RANK 4 – The wizards travel into the heart of the mountain and the iron mines carved deep within. The main shaft is a treacherous ice canal, the mine having been neglected for centuries. Steven pulls out a sheet of Universal Origami paper — it works just like normal origami paper, except it folds space-time — and is able to fold the space between the entrance and the location of the next clue, painted onto a wall deep in the mines; the second clue: Blue.
SCENE 03 – DESERT ISLE – CHAOS RANK 3 – Assuming that blue refers to the beautiful blue waters in the south, Steve fashions a space-time boat from a party balloon and the wizards sail to a small desert island, populated by a single palm tree with two coconuts and teeming with seagulls. One of the seagulls has clearly eaten a gold doubloon with the next clue etched onto it, presenting Bob and Yamaguchi with the perfect opportunity to settle their seagull-slaying rivalry once and for all. Yamaguchi wins the contest by stoving in the head of a particularly bloated-looking seagull and squeeezing the coin out from it. On the coin is etched the third clue: Cold Iron.
SCENE 04 – ENCHANTED WOOD – CHAOS RANK 4 – The wizards arrive in the enchanted wood to discover that the next clue is embroidered on the tag of a special sash worn by the Elf Scouts. The wizards join the Elf Scouts and compete in an Elf Scout cookie-selling contest to win the sash and obtain the next clue. This is handily won by Steven who enlists his army of battle crabs to canvas the woods during rush hour, which is occurring perpetually due to his creating a time loop. Winning the sash, the wizards obtain the fourth clue and the location of the first Object: Cottage.
SCENE 05 – BABA YAGA’S MECH – CHAOS RANK 4 – Baba Yaga has upgraded her cottage to a cold iron bunker with mech legs. Within is the Object the wizards require: a giant, wooden spoon she keeps on her fireplace mantle. The battle with Baba Yaga is fierce, and Yamaguchi dies after being kicked by Baba Yaga into her oven. Yamaguchi returns, however, to advance time on Baba Yaga so far into the future that, though immortal, is momentarily reduced to a pile of goo. However, she starts regenerating straight away; the wizards grab the spoon and run. The next clue painted on the spoon: A ship ‘o the line called the Screaming Demon.
SCENE 06 – SHIP O THE LINE – CHAOS RANK 5 – The wizards land on the main deck of the Screaming Demon as it is in the middle of a battle with pirates. The wizards are able to defeat the pirates easily once Steve puts the entire scale of the universe into the pirate captain’s brain. The pirates are affected by the domain of Death from Yamaguchi, who simultaneously uses the domain of Life for the navy, resurrecting fallen crew members. As the last pirate hoists the flag to surrender, the wizards see their next clue written upon the field of white: Levitating.
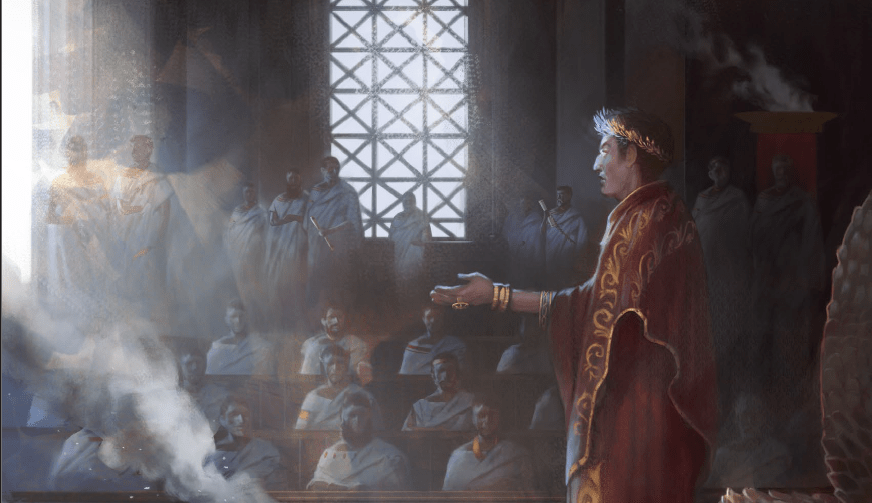
SCENE 07 – CITY OF BIRD-MEN – CHAOS RANK 4 – The city of bird-men floats above the coast. The wizards arrive in a council chamber as representatives of the city and the land are negotiating for passage over the continent. The people of the land do not want the city of bird-men to fly over them due to the amount of droppings the will rain down upon them. Yamaguchi uses the powers of Order and Time to create an iron-clad case for the bird-men by going back in time and creating the very precedents he uses in the present to make his case in behalf of the bird-men. Everyone applauds at Yamaguchi’s presentation and they ask him to sign the treaty — the word written above the space left for his signature is the next clue: Yellow-Green. Taking this to mean the nostrils of the great Sky Whale, the bird-men happily provide the wizards with an airship to take to the Sky Whale’s location.
SCENE 08 – SKY WHALE’S NOSTRIL – CHAOS RANK 3 – The Sky Whale’s nostril is clogged by the next clue, a billboard-sized sign. They are able to extract the billboard by causing the Sky Whale to sneeze with skillful use of a giant feather and pepper, but they neglected to think about what would happen when the whale finally sneezed; they are ejected out over the ocean at tremendous speed. Steven is able to grab the billboard and read the next clue: White-Washed, and fold space before they hit the ocean’s surface.
SCENE 09 – GRYPHON GRAVE YARD – CHAOS RANK 4 – The wizards are space-folded to a massive gryphon grave yard, where they meet an actuary who is tasked with counting all of the bones in the grave yard. However, a powerful illusion is preventing him from completing his task. Using their magics, the wizards make light work of the task and the actuary provides them with the next clue (Yamaguchi also learns Illusion magic in the process): Laboratory.
SCENE 10 – MAD SCIENTIST’S LABORATORY – CHAOS RANK 3 – The wizards arrive at the abandoned laboratory and are prevented from getting to the main experiment room by the mad scientist’s last, greatest creation: a monster of immense size that roams the halls of the laboratory, killing all in its path. The laboratory, once levitated high above the ground, is now lopsided and wobbling as the creature doesn’t have the knowledge to maintain the systems that keep it afloat. While Steven and Yamaguchi keep the monster occupied with a shadow puppet show, Bob is able to send vines into the experiment room and grab the second Object: a large lightning rod. Within its spherical top, Bob can see the vague reflection of a hedge maze…
SCENE 11 – HEDGE MAZE – CHAOS RANK 4 – In the center of the hedge maze, the beautiful Miss Fortune is imprisoned by a topiary minotaur. Bob keeps the minotaur occupied while the other wizards rescue Miss Fortune. She rewards Yamaguchi with a kiss and a locket. Inside the locket is a picture of Miss Fortune and an inscription, the next clue: Invisible.
SCENE 12 – CASTLE OF MIRRORS – CHAOS RANK 3 – Deep within the castle of mirrors is the Chapel of Reflection and a grael on the sacrament table which has the next clue engraved upon it. The wizards do not get far in the castle of mirrors before they are thoroughly lost and are set upon by the guardian of the grael, the Mirrored Knight. The battle with the Mirrored Knight is fierce and Yamaguchi is one again killed, but in the end the make it to the Chapel of Reflection and find the clue: Yellow.
SCENE 13 – DESERT TOMB – CHAOS RANK 4 – The next clue is kept in a secret chamber within a desert tomb, protected by a mummy who is under a curse. The mummy’s curse must be lifted to gain access to the cartouche with the next clue written upon it in heiroglyphs. The mummy is a much tougher foe than expected, and the heiroglyphs on the walls are a deception planted by Gronklefizz to keep the wizards busy while the mummy attacks them. Yamaguchi nearly dies a third time, but they are able to break the curse and gain access to the next clue: Vorpal.
SCENE 14 – FORBIDDEN KEEP – CHAOS RANK 5 – Contained deep in a vault of a keep perched atop a storm-swept bluff is the Hand Guillotine: Anyone putting their hands into the guillotine and able to keep it from cutting them off is granted visions of power and insght. The wizards are unsure how to solve this problem and very reluctant to risk losing their hands to the guillotine. In the end, Steven volunteers and sticks his tentacle hands into the guillotine, very loudly bypassing the problem as his tentacles regenerate. The final clue flashes into Steven’s mind: Dragon.
SCENE 15 – TULIP FIELD – CHAOS RANK 6 – Hidden among a vast field of yellow tulips is hid the invisible Yellow Vorpal Dragon. The wizards know this will be their hardest challenge yet and they are ready; it is all or nothing, do or die. Bob starts off by pinpointing the dragon’s location and Steven is able to manipulate time and revert the dragon back to it’s form as a baby dragon. Forming a balloon bucket, he fills it with water and holds the baby dragon below the water to drown it. Even as a baby, the dragon is formidable and Steven is not able to avoid being bit; his head being cut clean off by the bite of the Vorpal Dragon (although he succeeds in drowning it). The dragon is no more, but the final Object bounces on the ground directly between Bob and Yamaguchi: a vorpal tooth.
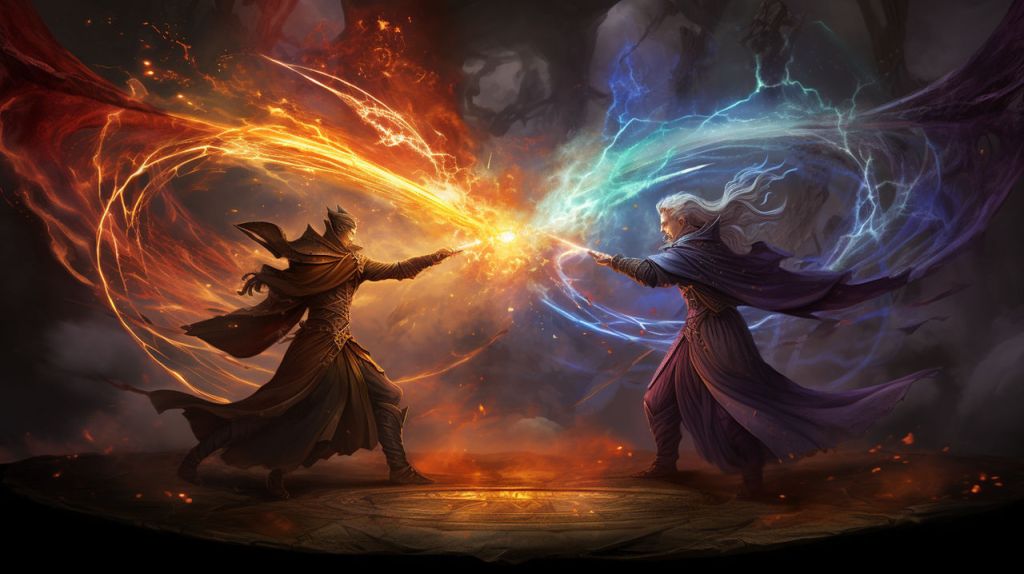
SCENE 16 – WIZARD DUEL – CHAOS RANK 7 – The three Objects have been secured, Steven is dead, but only ONE wizard can gain access to Gronklefizz’s hide away. At long last, Bob and Yamaguchi must duel each other; only one will emerge victorious, the other banished or imprisoned. The wizard duel is mighty, the skies lighting up for miles around them as they clash. In the end, Yamaguchi is victorious and Bob is imprisoned in Yamaguchi’s glass globe. A portal opens to the final location: an ancient ruin …
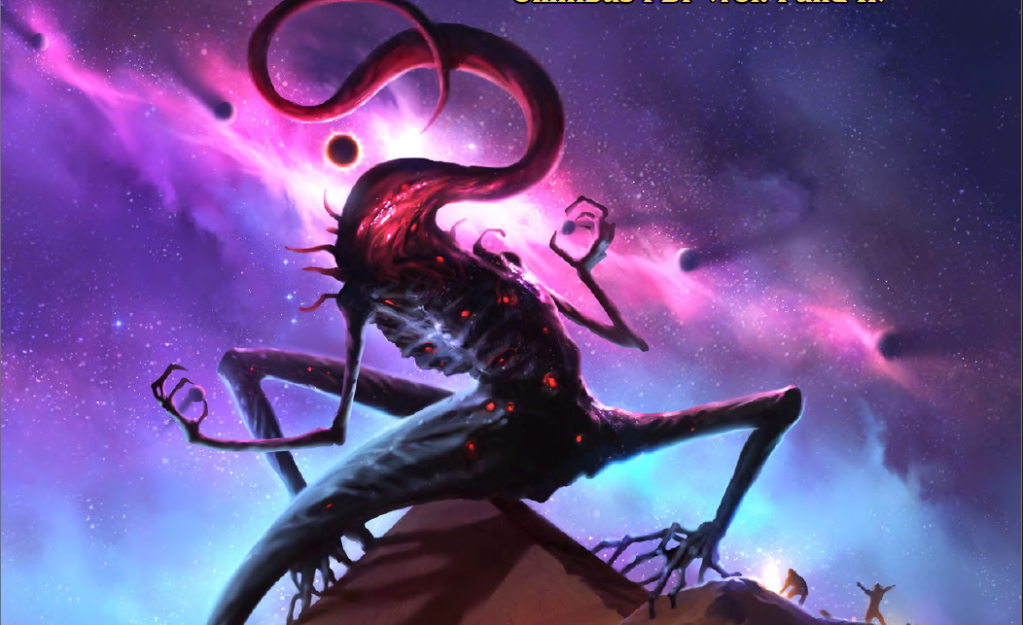
SCENE 17 – GRONKLEFIZZ! – CHAOS RANK 8 – Yamaguchi steps through the portal to the ancient ruins and confronts Gronklefizz, now manifesting her true form as a giant dust bunny Venus de Milo with ram’s horns and glowing eyes. The contest is not even close, Gronklefizz being a great wizard but Yamaguchi being an AWESOME one. The domain list is long and many magic words are spoken; powerful magics are woven by the wizards to negate each other. In the end, Gronklefizz is forced to surrender the keys to the towers and slips into a logic gap in the fabric of the universe to return another day with more mischief.
SCENE 18 – THE KEYS RESTORED – CHAOS RANK 7 – Returning to the tulip field, Bob is released from his prison, past misgivings are forgiven (if not forgotten) and Bob’s head is reattached. The keys are returned to the wizards and our heroes celebrate their victory … until next time!

Leave a comment